User Guide

Look through each section to learn more about Vocalance

Commands

Vocalance provides a comprehensive set of automation commands that can be triggered by voice. Commands are organized into functional groups for easy reference.

Basic

Command Phrase
Description
click
Perform a left mouse click at current mouse cursor position
right click
Perform a right mouse click at current mouse cursor position
double click
Perform a double left mouse click at current mouse cursor position
triple click
Perform a triple left mouse click at current mouse cursor position
up
Press the up arrow key
down
Press the down arrow key
left
Press the left arrow key
right
Press the right arrow key
wind
Press the page up key (use to scroll up)
ground
Press the page down key (use to scroll down)
sky
Scroll upward using mouse scroll wheel
earth
Scroll downward using mouse scroll wheel
escape
Press the escape key
zoom
Increase zoom level
zoom out
Decrease zoom level
search
Search for text in the current file
back space
Press the backspace key

Editing

Command Phrase
Description
save
Save the current file
copy
Copy selected text or content to clipboard
paste
Paste content from clipboard
select all
Select all content in the current context
wipe
Undo the last action
redo
Redo the last undone action
enter
Press the enter key
delete
Press the delete key
tab
Press the tab key
space
Press the space bar

Window Navigation

Command Phrase
Description
web open
Open a new browser tab (also works in VSCode or other tabbed applications)
web close
Close the current browser tab (also works in VSCode or other tabbed applications)
close
Close the currently active window
minimize
Minimize the currently active window to the taskbar
web reopen
Reopen the last closed browser tab
web right
Open the browser tab to the right of the current browser tab (also works in VSCode or other tabbed applications)
web left
Open the browser tab to the left of the current browser tab (also works in VSCode or other tabbed applications)
back
If triggered on a browser, goes back to the previous page. If triggered in a coding IDE, goes back to the previous cursor position.
jet
If triggered on a browser, goes forward to the next page. If triggered in a coding IDE, goes forward to the next cursor position.

General IDE

Command Phrase
Description
save all
Save all open files
close all
Close all open files
references
Shows code references for the selected variable (trigger if your cursor is on a variable)
rename
Rename the selected variable (trigger if your cursor is on a variable)
definition
Shows where the selected variable is defined (trigger if your cursor is on a variable)
code search
Opens file search in IDE (if you trigger this when your cursor is highlighting some text, it will automatically search for that text across files)
old
If triggered on a browser, goes to tab to the left of the current tab. If triggered in a coding IDE, goes to the file tab to the left of the current file.
new
If triggered on a browser, goes to tab to the right of the current tab. If triggered in a coding IDE, goes to the file tab to the right of the current file.
explore
Open the files panel in coding IDEs

Cursor IDE

Command Phrase
Description
square ask
Toggle in line AI Chat in Cursor
square new
Open a new AI chat in Cursor
square mode
Cycle through Cursor Chat AI modes [Agent, Plan, Ask] (only trigger if you're in the context of a chat)
square models
Open AI model selection menu in Cursor Chat (only trigger if you're in the context of a chat)
square context
Open context drop down in Cursor Chat (only trigger if you're in the context of a chat)
square next
Move to next AI changed section in Cursor
square previous
Move to previous AI changed section in Cursor
square keep line
Keep edit at given or next highlighted code section in Cursor (only trigger if you are on a file with AI changes)
square drop line
Reject edit at given or next highlighted code section in Cursor (only trigger if you are on a file with AI changes)
square keep file
Keep edits in the current file in Cursor (only trigger if you are on a file with AI changes)
square reject file
Reject edits in the current file in Cursor (only trigger if you are on a file with AI changes)

VSCode IDE

Command Phrase
Description
blue ask
Toggle in line AI Chat in VSCode
blue new
Open a new AI chat in VSCode (only trigger if you're in the context of a chat)
blue context
Open context drop down in Copilot Chat (only trigger if you're in the context of a chat)
blue talk
Activate microphone in Copilot Chat (only trigger if you're in the context of a chat)
blue models
Open AI model selection menu in Copilot Chat (only trigger if you're in the context of a chat)
blue next
Move to next AI changed section in VSCode (only trigger if you are on a file with AI changes)
blue previous
Move to previous AI changed section in VSCode (only trigger if you are on a file with AI changes)
blue keep line
Keep edit at given or next highlighted code section in VSCode (only trigger if you are on a file with AI changes)
blue drop line
Reject edit at given or next highlighted code section in VSCode (only trigger if you are on a file with AI changes)
blue keep file
Keep edits in the current file in VSCode (only trigger if you are on a file with AI changes)
blue reject file
Reject edits in the current file in VSCode (only trigger if you are on a file with AI changes)

Command Parametrization

You can repeat any command multiple times by saying a number after the command phrase. For example:

  • "click 3" - Performs 3 left clicks
  • "down 5" - Presses the down arrow key 5 times
  • "earth 10" - Scrolls down 10 times
  • "tab 2" - Presses the tab key 2 times

This works with any automation command - simply say the command phrase followed by the number of times you want it to repeat.
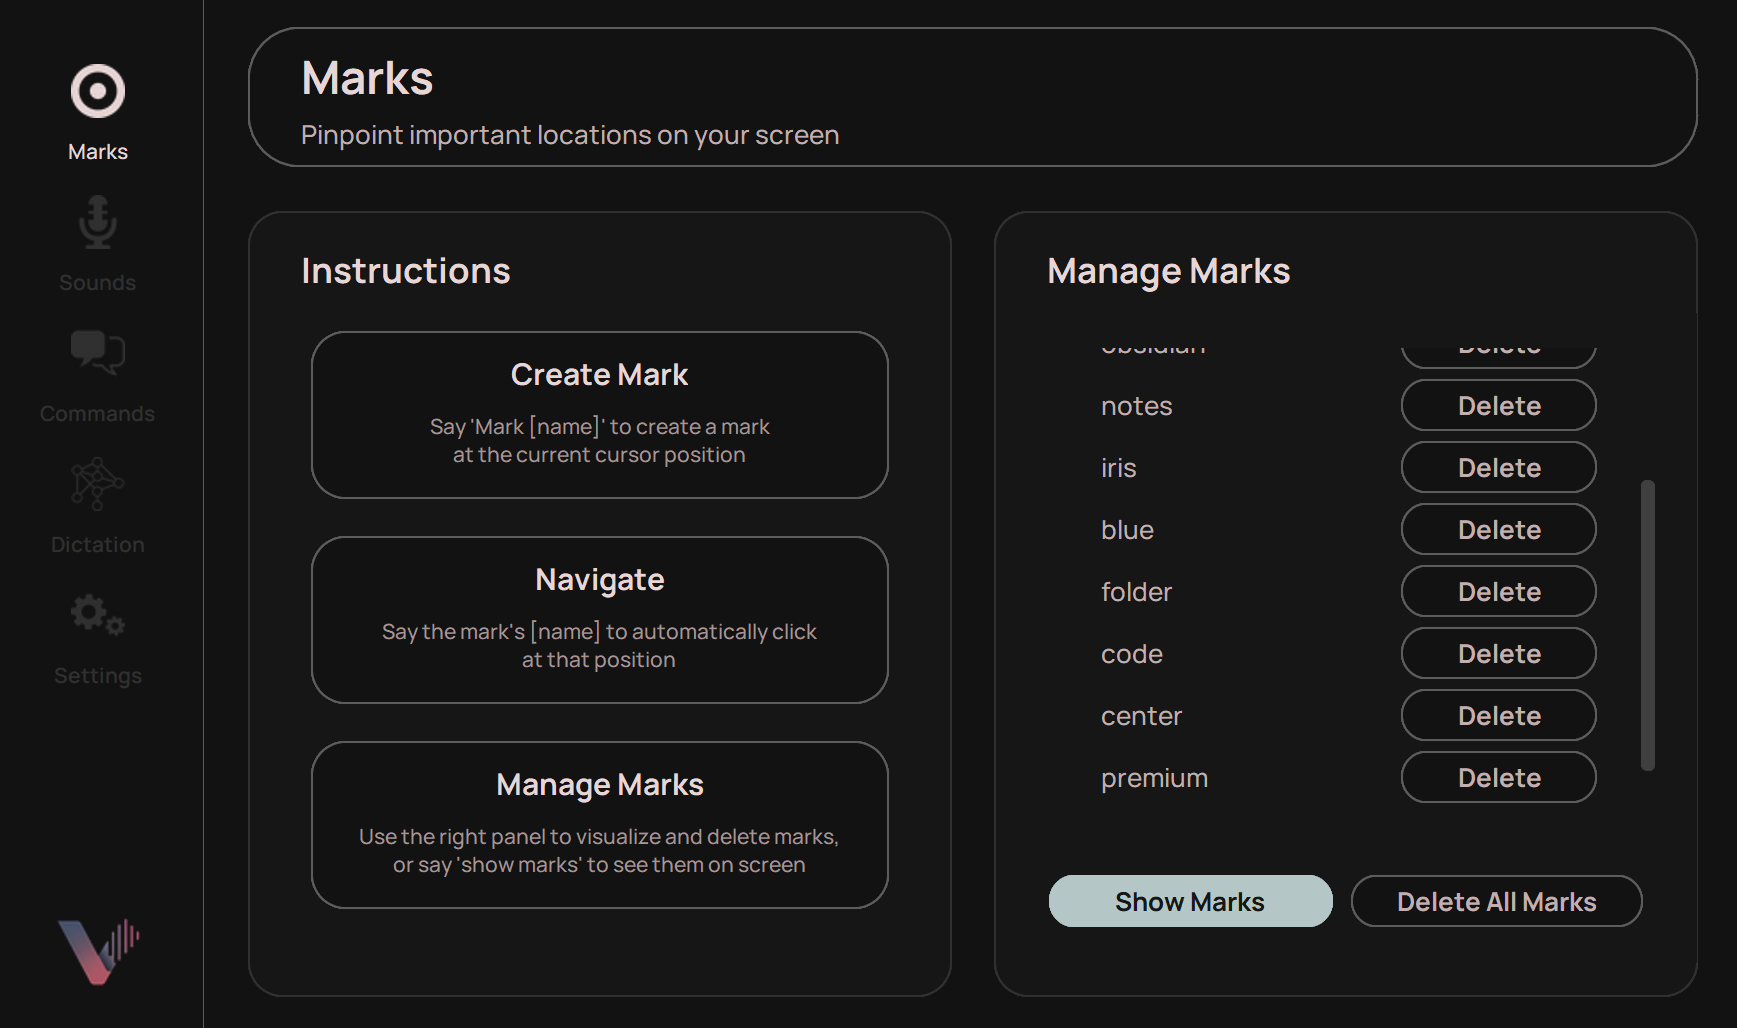
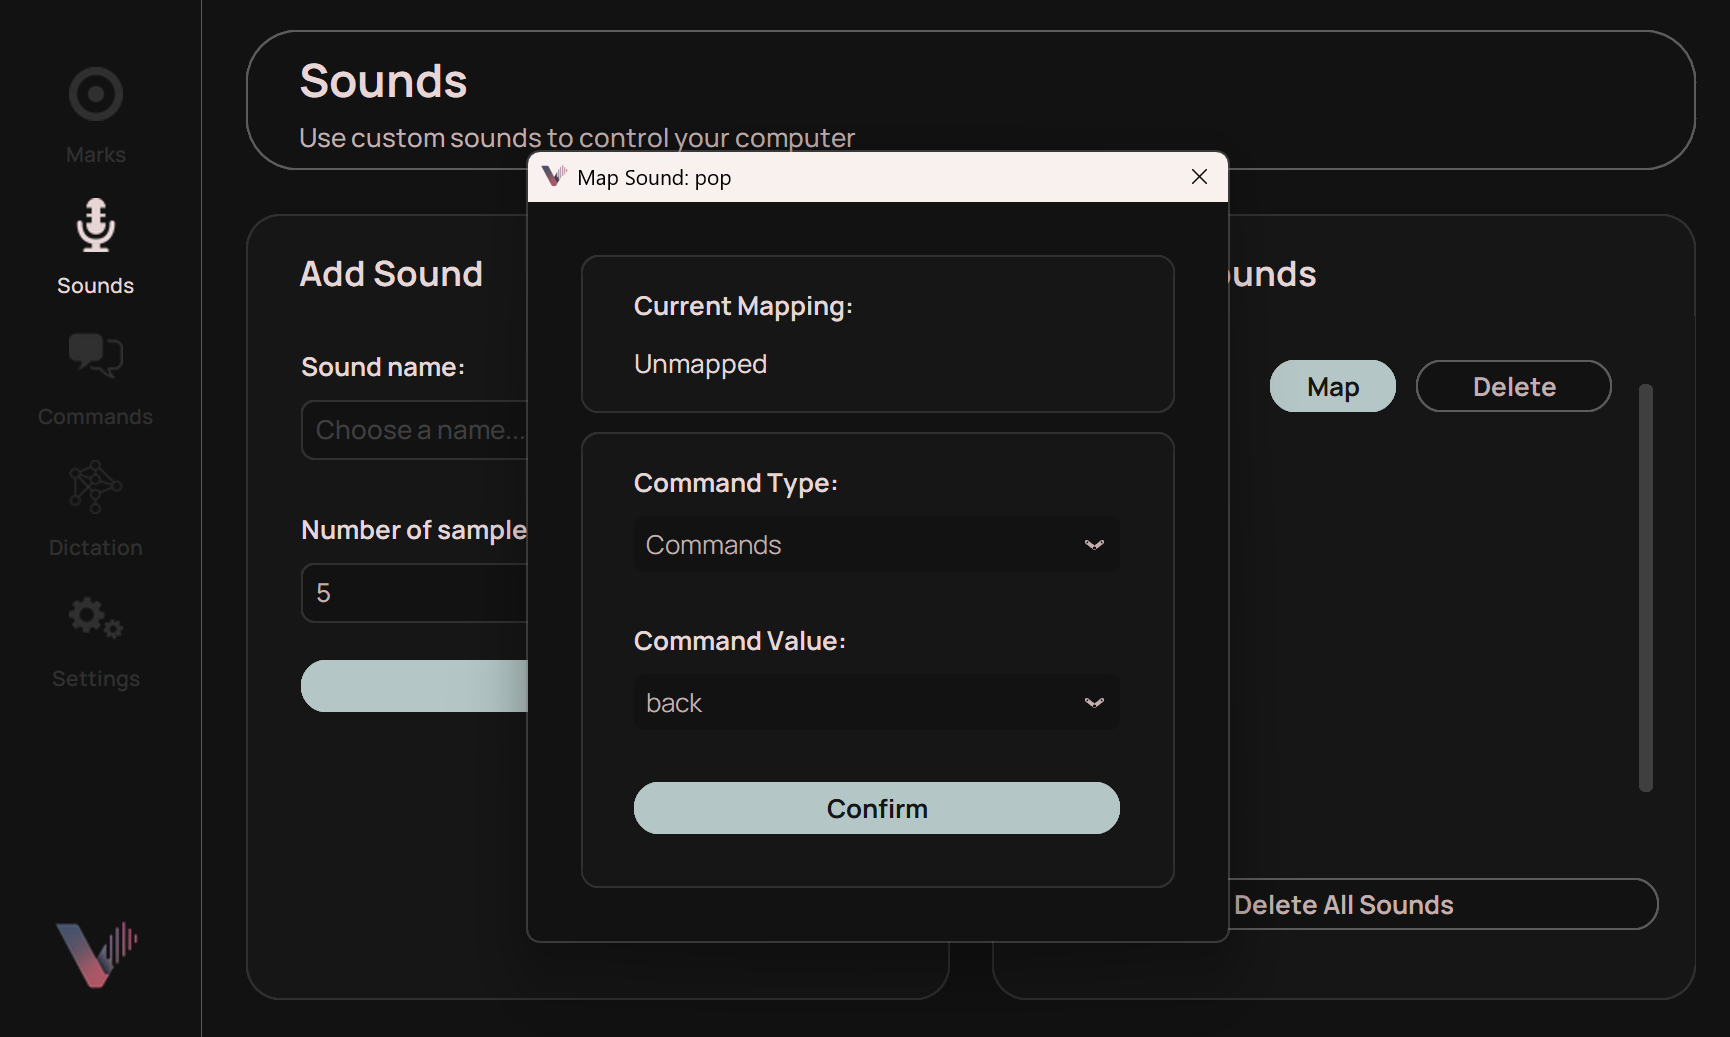
Add Custom Command

You can add your own commands by going to the Commands tab in the sidebar and:

  1. Choosing what your trigger word for this command will be in the Command Phrase field.
  2. Choosing what keyboard hot key Vocalance should execute when you say the trigger word.
Add Custom Command Interface

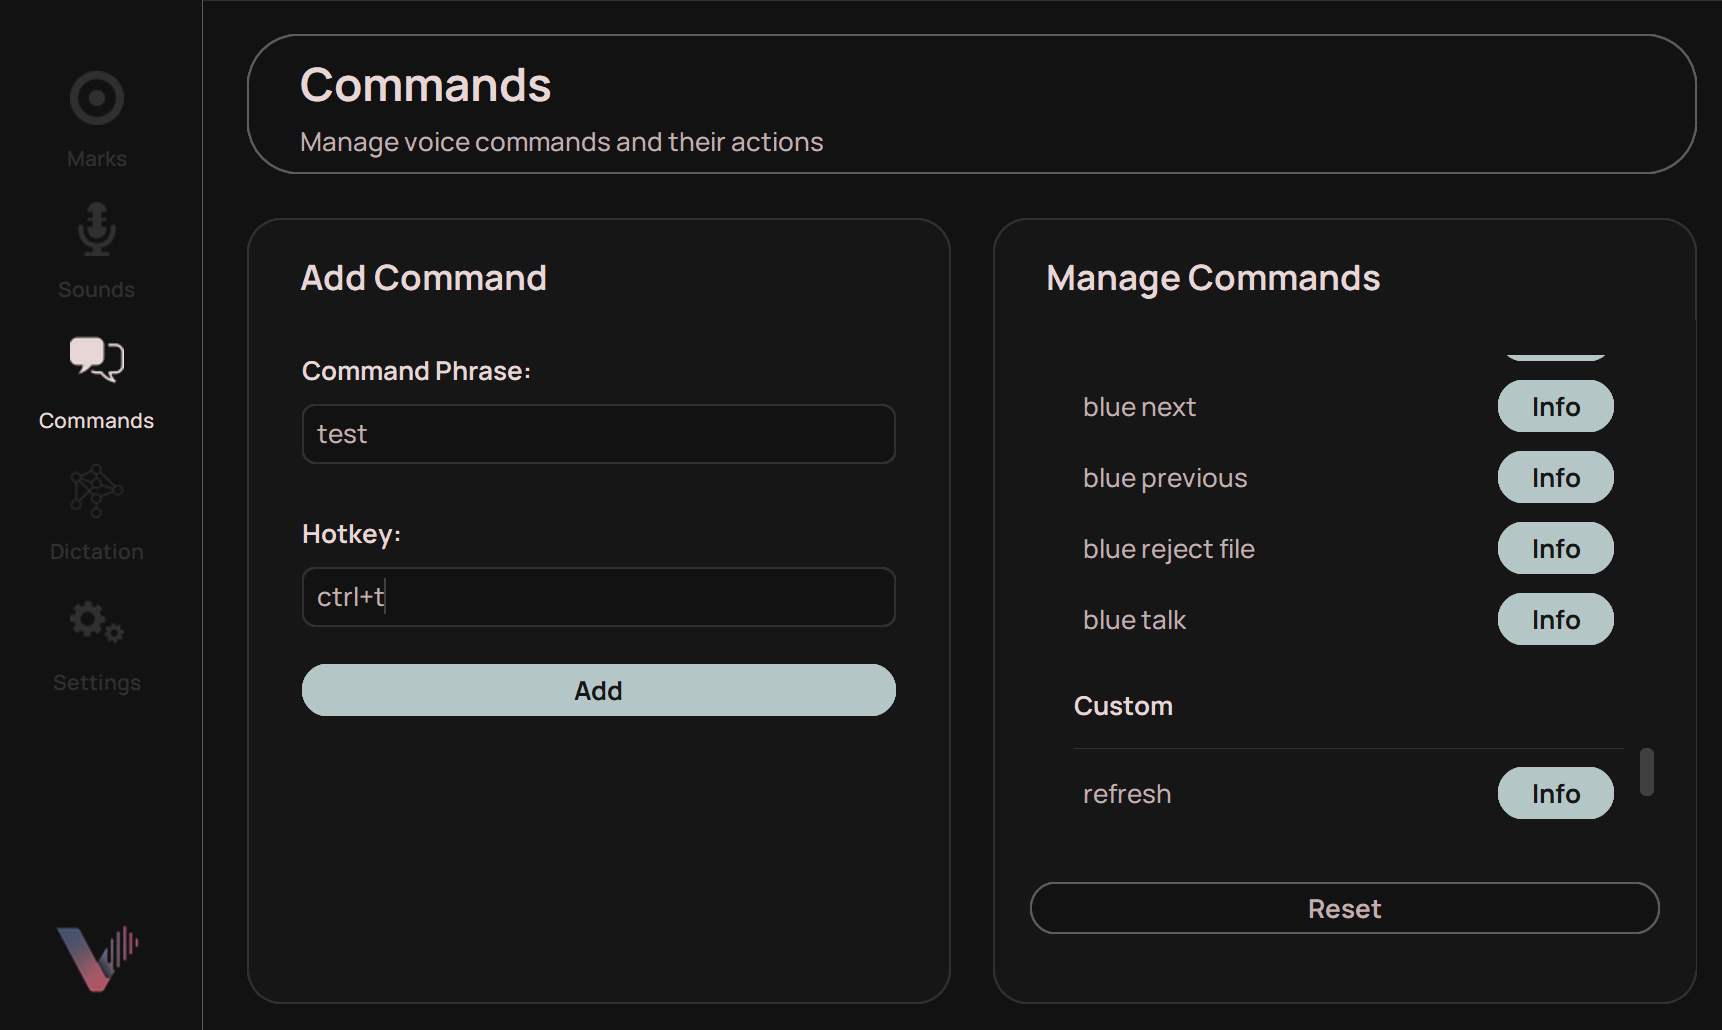
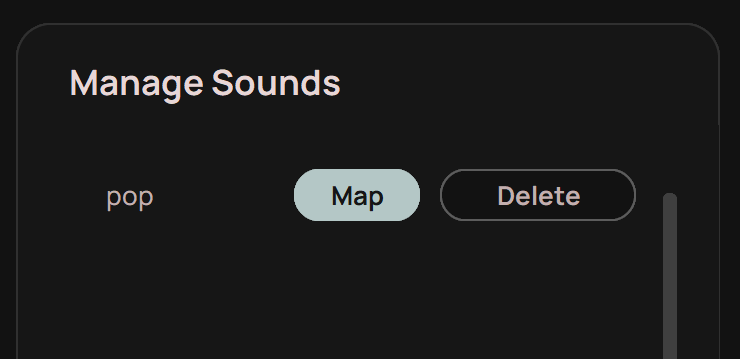
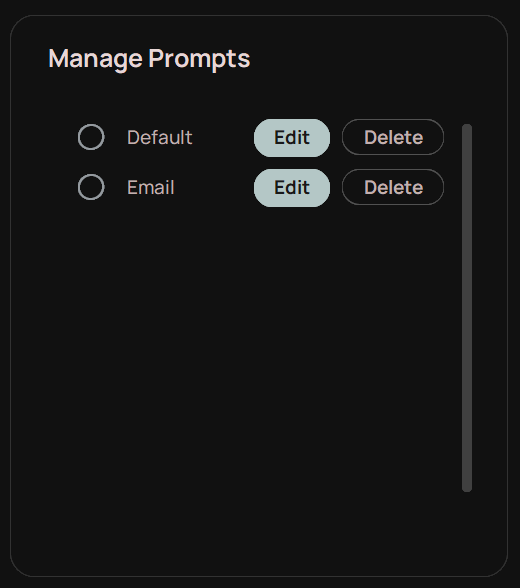
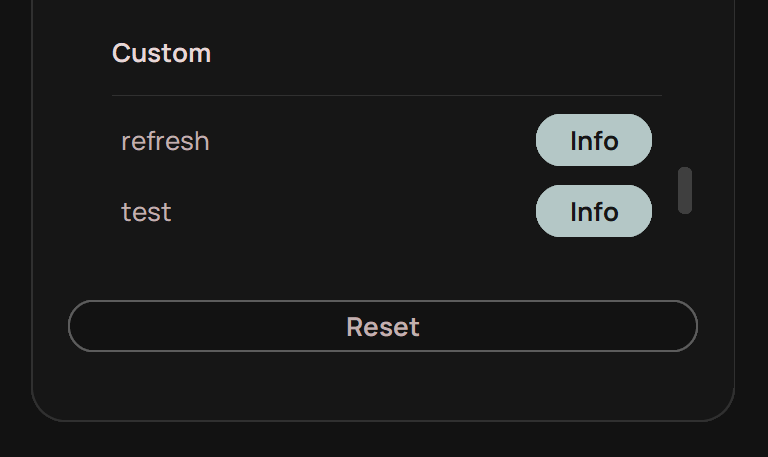
The added command will be displayed in the Manage Commands box, under the "Custom" divider:

Manage Commands Interface

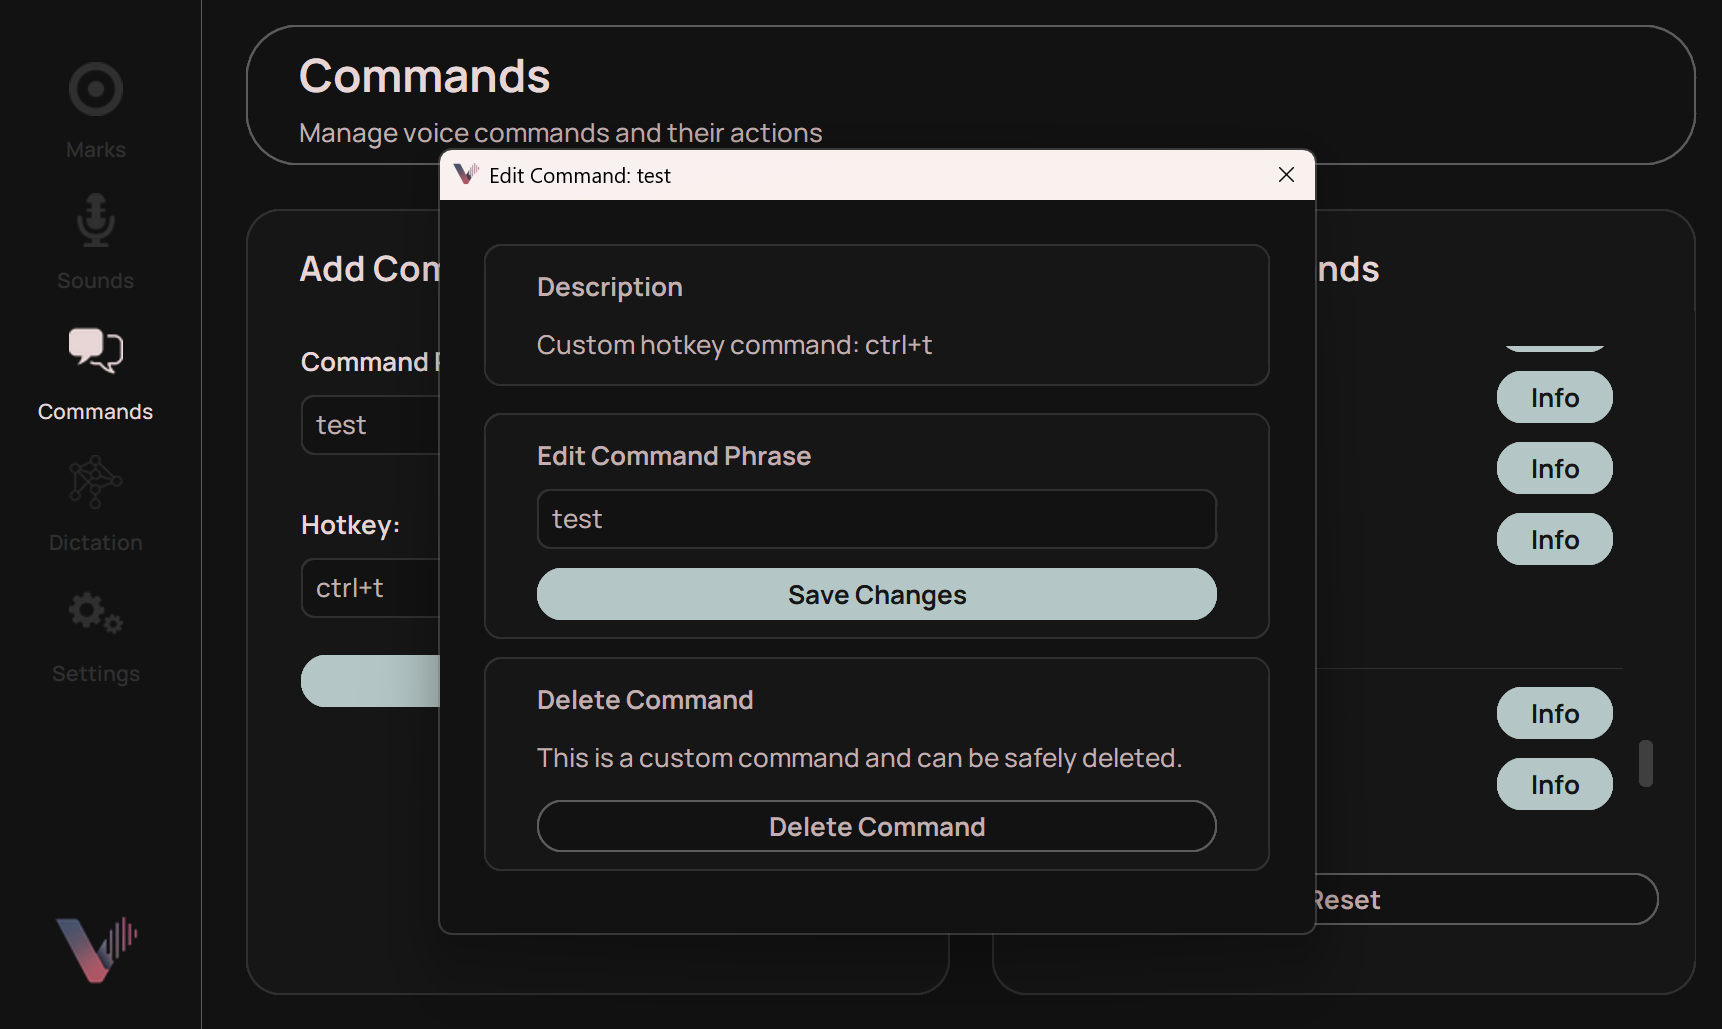
Edit Command Phrases

You can change the command phrases of any Vocalance command in the Commands tab by:

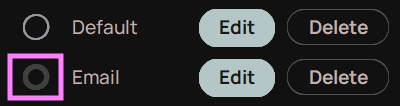
  1. Navigating the Manage Commands box until you find the command whose command phrase you want to change.
  2. Clicking the Info button.
  3. Changing the command phrase in the Edit Command Phrase field.
  4. Clicking Save Changes.

Optionally, you can also delete commands from this window, though that only applies to custom commands (built in commands can't be deleted).

Edit Command Interface

Marks

Marks allow you to save parts of the screen you click on frequently and reference them by name. Find out more about marks below!

Create Marks

  1. Move your cursor to the screen location at which you want to create a mark.
Move cursor to mark location
  1. Say "mark X" where X is the name you want to give to your mark (eg. "mark chrome" to create a mark on the chrome icon in the taskbar).
  2. Move your mouse anywhere else on screen.
Mark creation interface
  1. Say the name of your mark (eg. "chrome"). This should now move your cursor to your mark location on screen and execute a click of the mouse at that location.
Mark activation result

Manage Marks

If you already created some marks and are wondering how to manage them, go to the Marks tab in the sidebar:

Marks tab in sidebar

Here you can:

  1. Delete an individual mark by clicking the Delete button.
  2. Delete all marks at once to restart fresh with the Delete All Marks button.
  3. Visualize where your marks are on the screen by clicking the Show Marks button (or you can say "show marks" at any time). To exit the show marks overlay, either press the escape key, or say "escape".
Marks visualization overlay

Sounds

You can control Vocalance with non verbal sounds if that's easier for you!

To do so:

  1. Move to the Sounds tab in the sidebar.
  2. Give your prospective sound a name (you won't speak this name, it's just for you to remember what's what).
  3. Select the number of times you want to make the sound during training (default is 5, but you can increase to give the model more data).
Add Custom Sound Interface
  1. Click Record.
  2. Make your sound, wait for the model to prompt you again, then make the sound again, for as many times as the model asks (the last time there might be a small delay, please still only make the sound once per prompt).

After the model has trained, you should see your trained sound in the Manage Sounds box to the right:

Trained Sound in Manage Sounds

Your sound now exists, but isn't mapped to any command. To associate a sound to a command (so that when you make the sound, Vocalance executes that command), locate your sound and click on Map:

Map Sound Interface

The current mapping for the sound will display as unmapped, and you will be asked to enter a Command Type and Command Value. The Command Type can be one of "Commands" (all the Vocalance commands from the Commands instructions on this page), "Marks" (any custom mark you create on screen), or "Grid" (this only has one option, which activates the grid overlay). Select a Command Type first, then select from the available Command Values.

When you're happy click Confirm. Now try make your sound and see if it executes your command value!

Dictation

Vocalance offers four types of dictation modes, each optimized for different use cases.

Fast Dictation

This is a quick dictation mode for when you want to perform a fast google search, or jot down a thought. To use it:

  1. Make sure your cursor is on a location in which you can type text:
    Cursor ready for dictation
  2. Say the activation phrase type. This will start dictation.
  3. Wait for a pop up to appear in the bottom left of the screen, confirming Vocalance is listening for audio:
    Vocalance listening confirmation
  4. Start speaking.
  5. As soon as you pause for more than 1 second, the dictation will self-interrupt, and Vocalance will paste what you said at the cursor location:
    Dictation output pasted

Incremental Dictation

This dictation mode is meant for every day dictation needs (notes, essays, messages, etc.). It's less accurate than Vocalance's Full Dictation mode, but allows you to edit text in real time and move the cursor and dictate dynamically. To use it:

  1. Make sure your cursor is on a location in which you can type text:
    Cursor ready for dictation
  2. Say the activation phrase green. This will start dictation.
  3. Wait for a pop up to appear in the bottom left of the screen, confirming Vocalance is listening for audio:
    Vocalance listening confirmation
  4. Start speaking.
  5. When you pause for more than 2 seconds, the words you said since the last 2 second pause will be pasted at the cursor location:
    Dictation output pasted
  6. When you're done with dictation, say the stop phrase amber.

Full Dictation

This dictation mode is meant for high quality transcription, but allows less real-time editing than Vocalance's Incremental Dictation mode. To use it:

  1. Make sure your cursor is on a location in which you can type text:
    Cursor ready for dictation
  2. Say the activation phrase visual green. This will start dictation.
  3. Wait for a pop up dictation window to appear on screen:
    Visual dictation window
  4. Start speaking. The words you say will appear in near-real time in the dictation window:
    Grey text in dictation window
  5. At first text will appear as grey. As you speak more, or as you stay silent, grey text becomes white. This indicates the model is finished with that segment and is confident that's what you said:
    White text in dictation window
  6. Both white and grey text counts as valid transcription, but white text is unchangeable, while grey text can change as you speak.
  7. Once you're happy with what's in the dictation window (both white and grey text, you don't need to wait for everything to turn white), say the stop phrase amber. This will automatically paste all the text in the dictation window at your cursor location.

Smart Dictation

This is Vocalance's most advanced and flexible dictation mode. Smart Dictation first transcribes everything you say, then passes the output to an AI model (this model is open source and runs entirely on your computer, no data leaves your machine), which will apply a clean up prompt to the text.

What's the Clean Up Prompt?

Vocalance ships with a default prompt that fixes grammar, punctuation, and improves clarity. However, you can specify any custom prompt you want! For example, you could create a prompt that formats text for emails, technical documentation, creative writing, or any other use case. Click on the 'Manage AI Prompts' section below to learn more!

Manage AI Prompts

  1. You can manage the AI model's prompts from the Dictation tab of the Vocalance menu:
    Dictation tab in Vocalance menu
  2. Vocalance ships with a built-in 'Default' prompt, which makes the AI model clean up your grammar, punctuation and improve sentence clarity.
  3. If you want to add your own prompt, select a Prompt Title and provide some Prompt Instructions for the AI Model in the Add Custom Prompt panel:
    Add Custom Prompt panel
  4. When you click 'Add', the prompt will appear alongside the default prompt on the Manage Prompts panel:
    Prompt added to Manage Prompts
  5. To use your new prompt, click on the radio button next to it:
    Prompt selected
  6. Vocalance will now use your prompt going forward instead of the default one. This is persistent, meaning smart dictation will continue to use this prompt until you select a different one.
  7. You can add as many prompts as you want, and switch between them to match your use case.

Start Dictating

For this walkthrough we will be using the 'Email' AI prompt we created in the 'Manage AI Prompts' section.

  1. Make sure your cursor is on a location in which you can type text:
    Cursor ready for dictation
  2. Say the activation phrase smart green. This will start dictation.
  3. Wait for a pop up dictation window to appear on screen:
    Smart dictation window
  4. Start speaking. The words you say will appear in near-real time in the left dictation panel:
    Grey text in smart dictation window
  5. At first text will appear as grey. As you speak more, or as you stay silent, grey text becomes white. This indicates the model is finished with that segment and is confident that's what you said.
  6. Both white and grey text counts as valid transcription, but white text is unchangeable, while grey text can change as you speak.
  7. Once you're happy with what's in the dictation window (both white and grey text, you don't need to wait for everything to turn white), say the stop phrase amber. This interrupts the dictation portion of the process, and now your transcribed text gets passed to the AI model, which starts applying your prompt:
    AI processing the transcribed text
  8. Once the AI finishes processing, it will paste the processed text at your cursor location:
    Processed text pasted at cursor

Grid

Grid navigation allows you to navigate your screen using a numbered grid overlay.

  1. To activate the grid, say the activation word "go". This will display a range of numbered cells on your screen:
Grid Overlay
  1. To navigate to your desired location on screen and click, simply say the number of the corresponding cell. It's very important you say the number as a sequence of single digits (eg. 143 should be "one", "four", "three", not "one hundred and forty three").

Note, the above instructions are for the default "go" activated grid, which will move the mouse to your desired cell, and click. If you only want to move the mouse, without clicking, then repeat steps 1 and 2, but use the activation word "hover" instead of "go".

Grid Granularity

By default the grid will display 500 cells on your screen.

To adjust this amount go to the Settings tab in the sidebar and select the desired number of cells, then click Save.

Grid Settings Interface

Grid Override

If you find yourself frequently shifting between a lot of cells and not a lot of cells, rather than changing settings all the time, you can just say "go" followed by the number of cells you want (eg. "go two hundred" or "go one thousand").

This will display the requested number of cells instead of the default number.